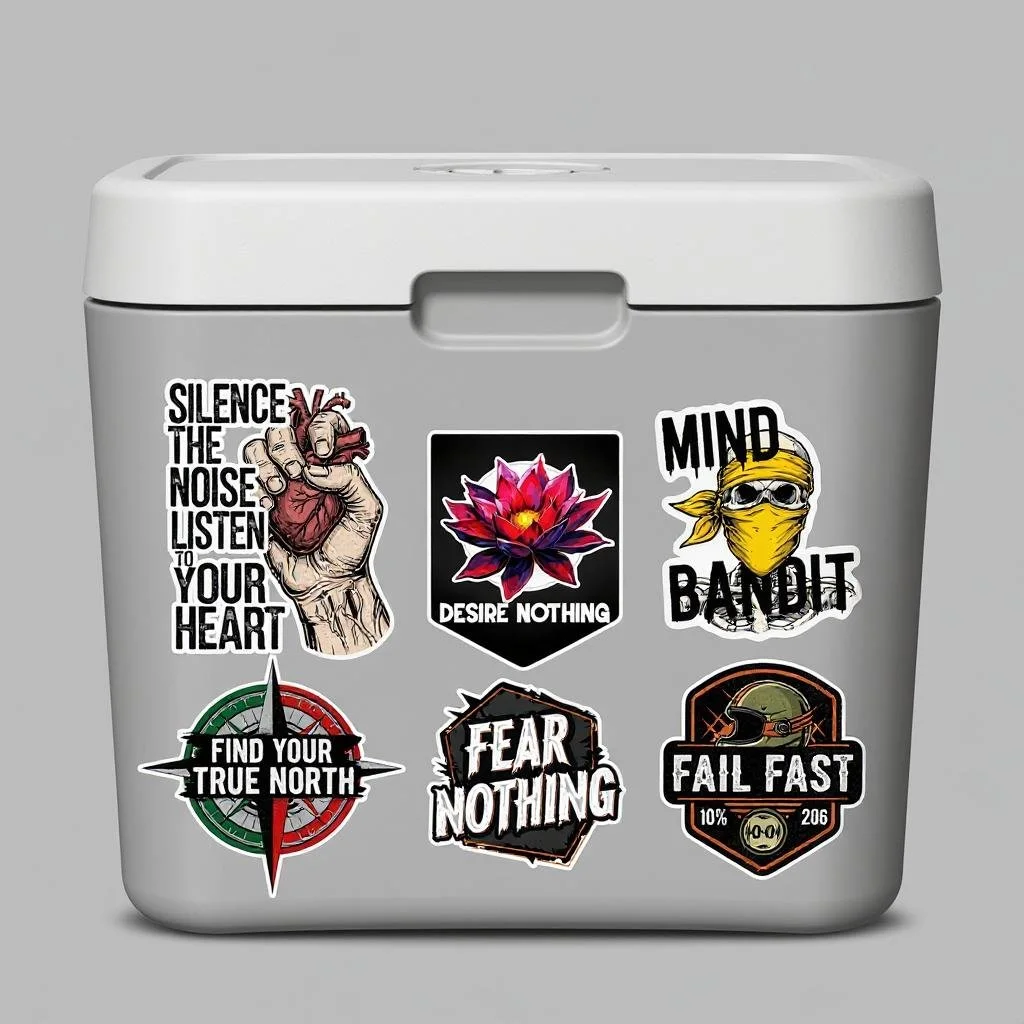
How to Perfectly Apply Vinyl Decals Without Bubbles
Ever slapped on a cool new sticker, only to watch it turn into a lumpy, bubbly mess? You're not alone! Applying vinyl decals can sometimes feel like a delicate art, but with the right technique, you can achieve a perfectly smooth, bubble-free finish every single time. Get ready to make your cool stickers look their best on your laptop, water bottle, or car!
Why Do Bubbles Happen?
Bubbles are usually tiny pockets of air trapped underneath the sticker as it's being applied. They're often caused by an uneven application or dust on the surface. The good news? They're totally preventable!
Your Step-by-Step Guide to Bubble-Free Application:
Ready to make those waterproof stickers look flawless? Grab a credit card (or a squeegee if you have one) and let's get started!
Step 1: Clean the Surface – The Unsung Hero! This is perhaps the most crucial step. Any dust, dirt, or oil on your surface (whether it's a sticker for laptop or a sticker for car) will prevent your vinyl from adhering properly and can cause bubbles or peeling.
Wipe it Down: Use rubbing alcohol on a clean cloth to thoroughly clean the area. This evaporates quickly and leaves no residue.
Dry Completely: Ensure the surface is bone dry before proceeding. Even tiny bits of moisture can cause issues.
Step 2: Position Your Sticker (Don't Stick Yet!) Before peeling, hold your sticker in place to visualize exactly where you want it. This prevents crooked applications or second-guessing once the adhesive is exposed.
Step 3: The Slow Peel – Go Easy! Carefully peel the backing paper off your vinyl sticker, starting from one corner. Try to avoid touching the adhesive side with your fingers, as oils can affect adhesion. For larger stickers, you can peel back just an inch or two of the backing initially, apply that small section, and then slowly peel the rest while applying.
Step 4: Apply and Smooth – The Credit Card Method This is where the magic happens!
Start at One End: Align one edge of your sticker with your desired starting point on the clean surface.
Press and Smooth: Using your credit card (or squeegee), start pressing down firmly from the edge you just started, working slowly across the sticker. Overlap your strokes slightly as you go, pushing any air bubbles outwards towards the edges.
Work Methodically: Continue pressing and smoothing until the entire sticker is applied. Don't rush this step! The slower and more methodical you are, the better the results.
Step 5: Address Any Stubborn Bubbles If, despite your best efforts, a tiny bubble appears after application, don't fret!
Small Bubbles: Often, small bubbles will naturally dissipate over 24-48 hours as the vinyl "breathes."
Larger Bubbles: For more stubborn bubbles, you can gently prick them with a fine needle or the tip of a utility knife. Then, use your finger or a cloth to press the air out towards the hole.
Step 6: Let it Cure! For best adhesion, especially for water bottle stickers or items that will be frequently handled, allow the adhesive to "cure" or fully bond for 24-48 hours before exposing it to water or heavy use.
With these simple steps, your two-inch stickers and larger decals will look professionally applied every time. Happy sticking!
True North Embroidered Patches
peel and stick adhesive backing
for backpacks, luggage, laptops etc.
free shipping with tracking

